Kiss Nails


- ←
- →
About Kiss Nails
False nails, also known as artificial nails, fake nails, nail extensions and acrylic nails, have been adorning the hands of women (predominantly but not exclusively) for many hundred years. The concept appears to be Egyptian in origin, used as a symbol of prosperity.
Today there’s a nail shop or false nail salon on every high street offering everything from simple manicures to full set replacement acrylic nails, but it’s only been in the last forty or so years that you could ‘do’ your nails at home.
Kiss Nails were one of the instigators of nail fashion back in the 1980s and continue to lead the way with its innovative styles and colour choices, easy to apply longer, wearing fake nails. Kiss fake nails have been seen on the catwalk and at red-carpet events and are used by makeup artists worldwide.
As a firm favourite with celebrities, Kiss fake nails have a reputation for quality at an affordable price. Our customers love Kiss press-on nails for the ease of application and the fact they stay in place for up to two weeks (if you look after your hands).
How long should Kiss Nails last?
To make sure you get the most out of your Kiss’s nails, we have put together some handy tips and hints that should help you get through 14 days of continual wear.
With proper application and care, your Kiss nails should stay put for up to two weeks, but to get the full 14 days, you must do the following…
- Follow the instructions on the proper application.
- Wear rubber gloves when doing anything that might damage your nails.
- Avoid oil-based products like hand cream, hand soap, sanitiser, or cuticle oil.
- Regularly check for loose nails and reply if necessary.
This advice makes it sound like you should never wash your hands, and this isn’t the case for all sorts of reasons, not just beautiful nails. Wash your hand carefully, avoiding the nails (clean around them) if possible.
How to apply Kiss Nails
To get to 14 days, the first thing you must do is apply them properly; here’s our best advice.
First things first — size matters, oh yes, it does! Not all the nails in your Kiss nails pack are the same. The nails have numbers on the reverse side. Zero is the biggest nail in the box, and this is for your thumb, and 11 is designed to be the smallest (pinky finger size).
If you are in-between size goes smaller, the nail should sit neatly over your natural nails and not hand over the cuticle area but sit neatly within in.
Choosing the most convenient shape for your lifestyle is also a good idea. If your life is a beach, go on and choose those extra long coffin nails, but if you’re a regular bod, then oval or squoval might work better — after all, you can use colour or motifs to jazz up your look.
From there, wash your hands. Prepping your nails is a vital step. Push back your cuticles to tidy the skin around your nails, and then texture them with a rough buffer to create a surface the glue can adhere to.
Wipe the nails with nail polish remover or clinical alcohol (vodka won’t cut it). Alcohol removes any remaining dirt or oil from your nails, ensuring they are 100% ready for the next stage. Get your glue ready.
Most sets of Kiss press-on nails come with glue or nail pads, but having a spare bottle of glue handy is a great idea. Kiss makes many different types of adhesive, and our bestseller is Kiss False Nails Powerflex Nail Glue — Max Speed.
Once you’ve prepped, the rest is easy…
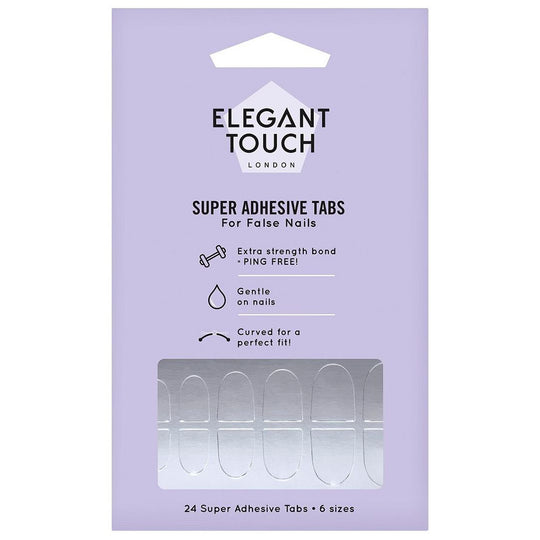
- Take your correct nail for your finger size and add the stick tab or glue to your natural nails (in the case of the bond, wait a few seconds).
- Press the nail into place and hold for a few more seconds. Always bring the false nail to your cuticle line.
- Wait until you have applied the entire set before contouring or filing into shape.
You may find contouring isn’t needed, especially if you’ve chosen the perfect shape in the first instance.
How to remove Kiss Nails
Following our advice will get the most out of your nails, but if you want to remove them, here’s how…
Removing your nails is a simple task. Soak your nails in warm water with a drop of hand soap and nail oil if you've used nail tabs or tape. If you have used nail glue, you should use the following technique…
- Fill a hand size glass or ceramic bowl with acetone nail polish remover.
- Soak your nails for 10 mins or so.
- Your nails should loosen and fall off. If not, repeat the process.
If your false nails are proving difficult to remove, gently prise them off with an orange stick or cuticle pusher. Once you have removed your Kiss nails, let your natural nails breathe for a few days (to avoid yellowing).
Interestingly, the first acrylic nails ever invented were by a dentist in 1954. The dentist was called Fed Slack; Slack broke a nail while extracting a tooth. The lack of fingernails caused Slack to experiment with different materials to make a replacement nail.
The acrylic nail replacement was so successful it became a family business. Slack and his brother patented their invention and started a false nail company, Patti Nails. This grey-haired, bespectacled dentist could not have known how popular acrylic nails would become.
Summary
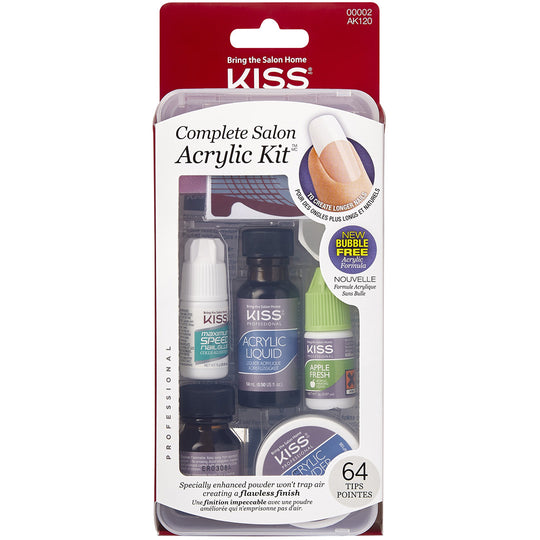
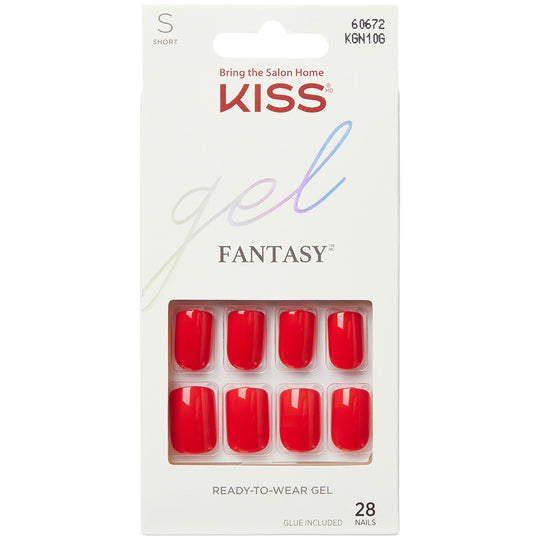
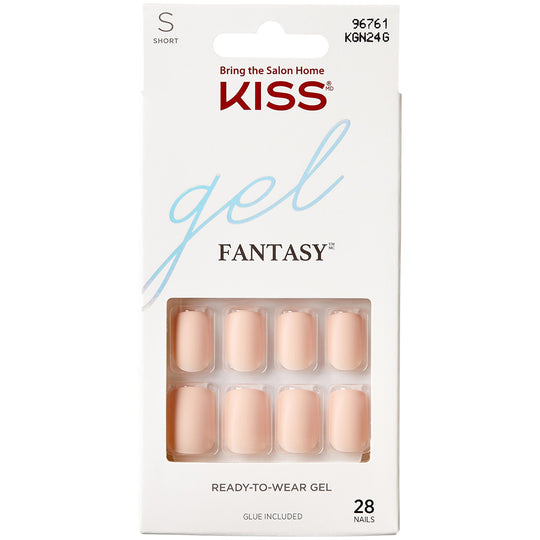
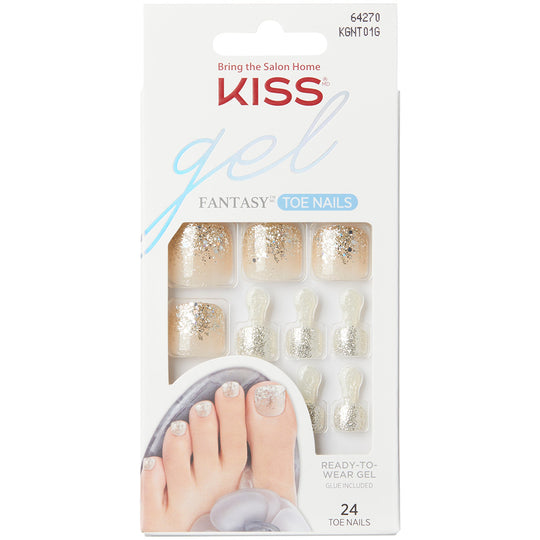
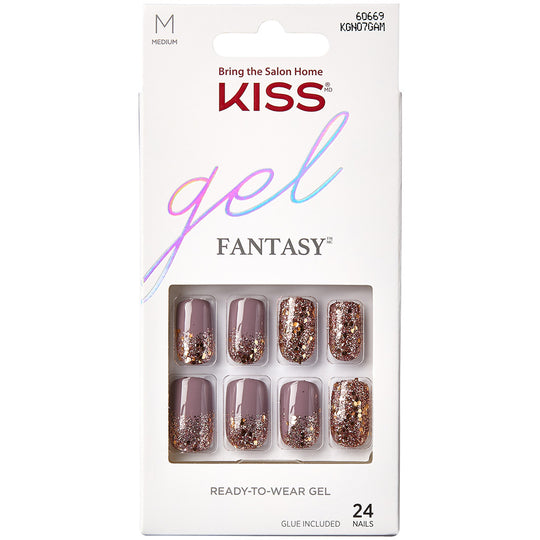
Kiss Nails have taken the baton and run with it. The Kiss range is vast, from Kiss False Nails Gel Fantasy Nails to Kiss False Nails Salon Acrylics and on to Kiss False Nails Bare But Better. You can even get Kiss false toenails.
We love Kiss Nails, and we know you do too. Trust Kiss nails to take the every day out of the shade and throw it into the spotlight.